
Exterior Painting in Chicago: Built for Brick, Wood, and Winter
Free estimates, detailed surface preparation and our 1-year quality guarantee. Call Empire Painters Chicago to discuss your project and scheduling.
- $0 travel charges
- Clear project communication
- clear proposals
- Home
- Exterior Painting
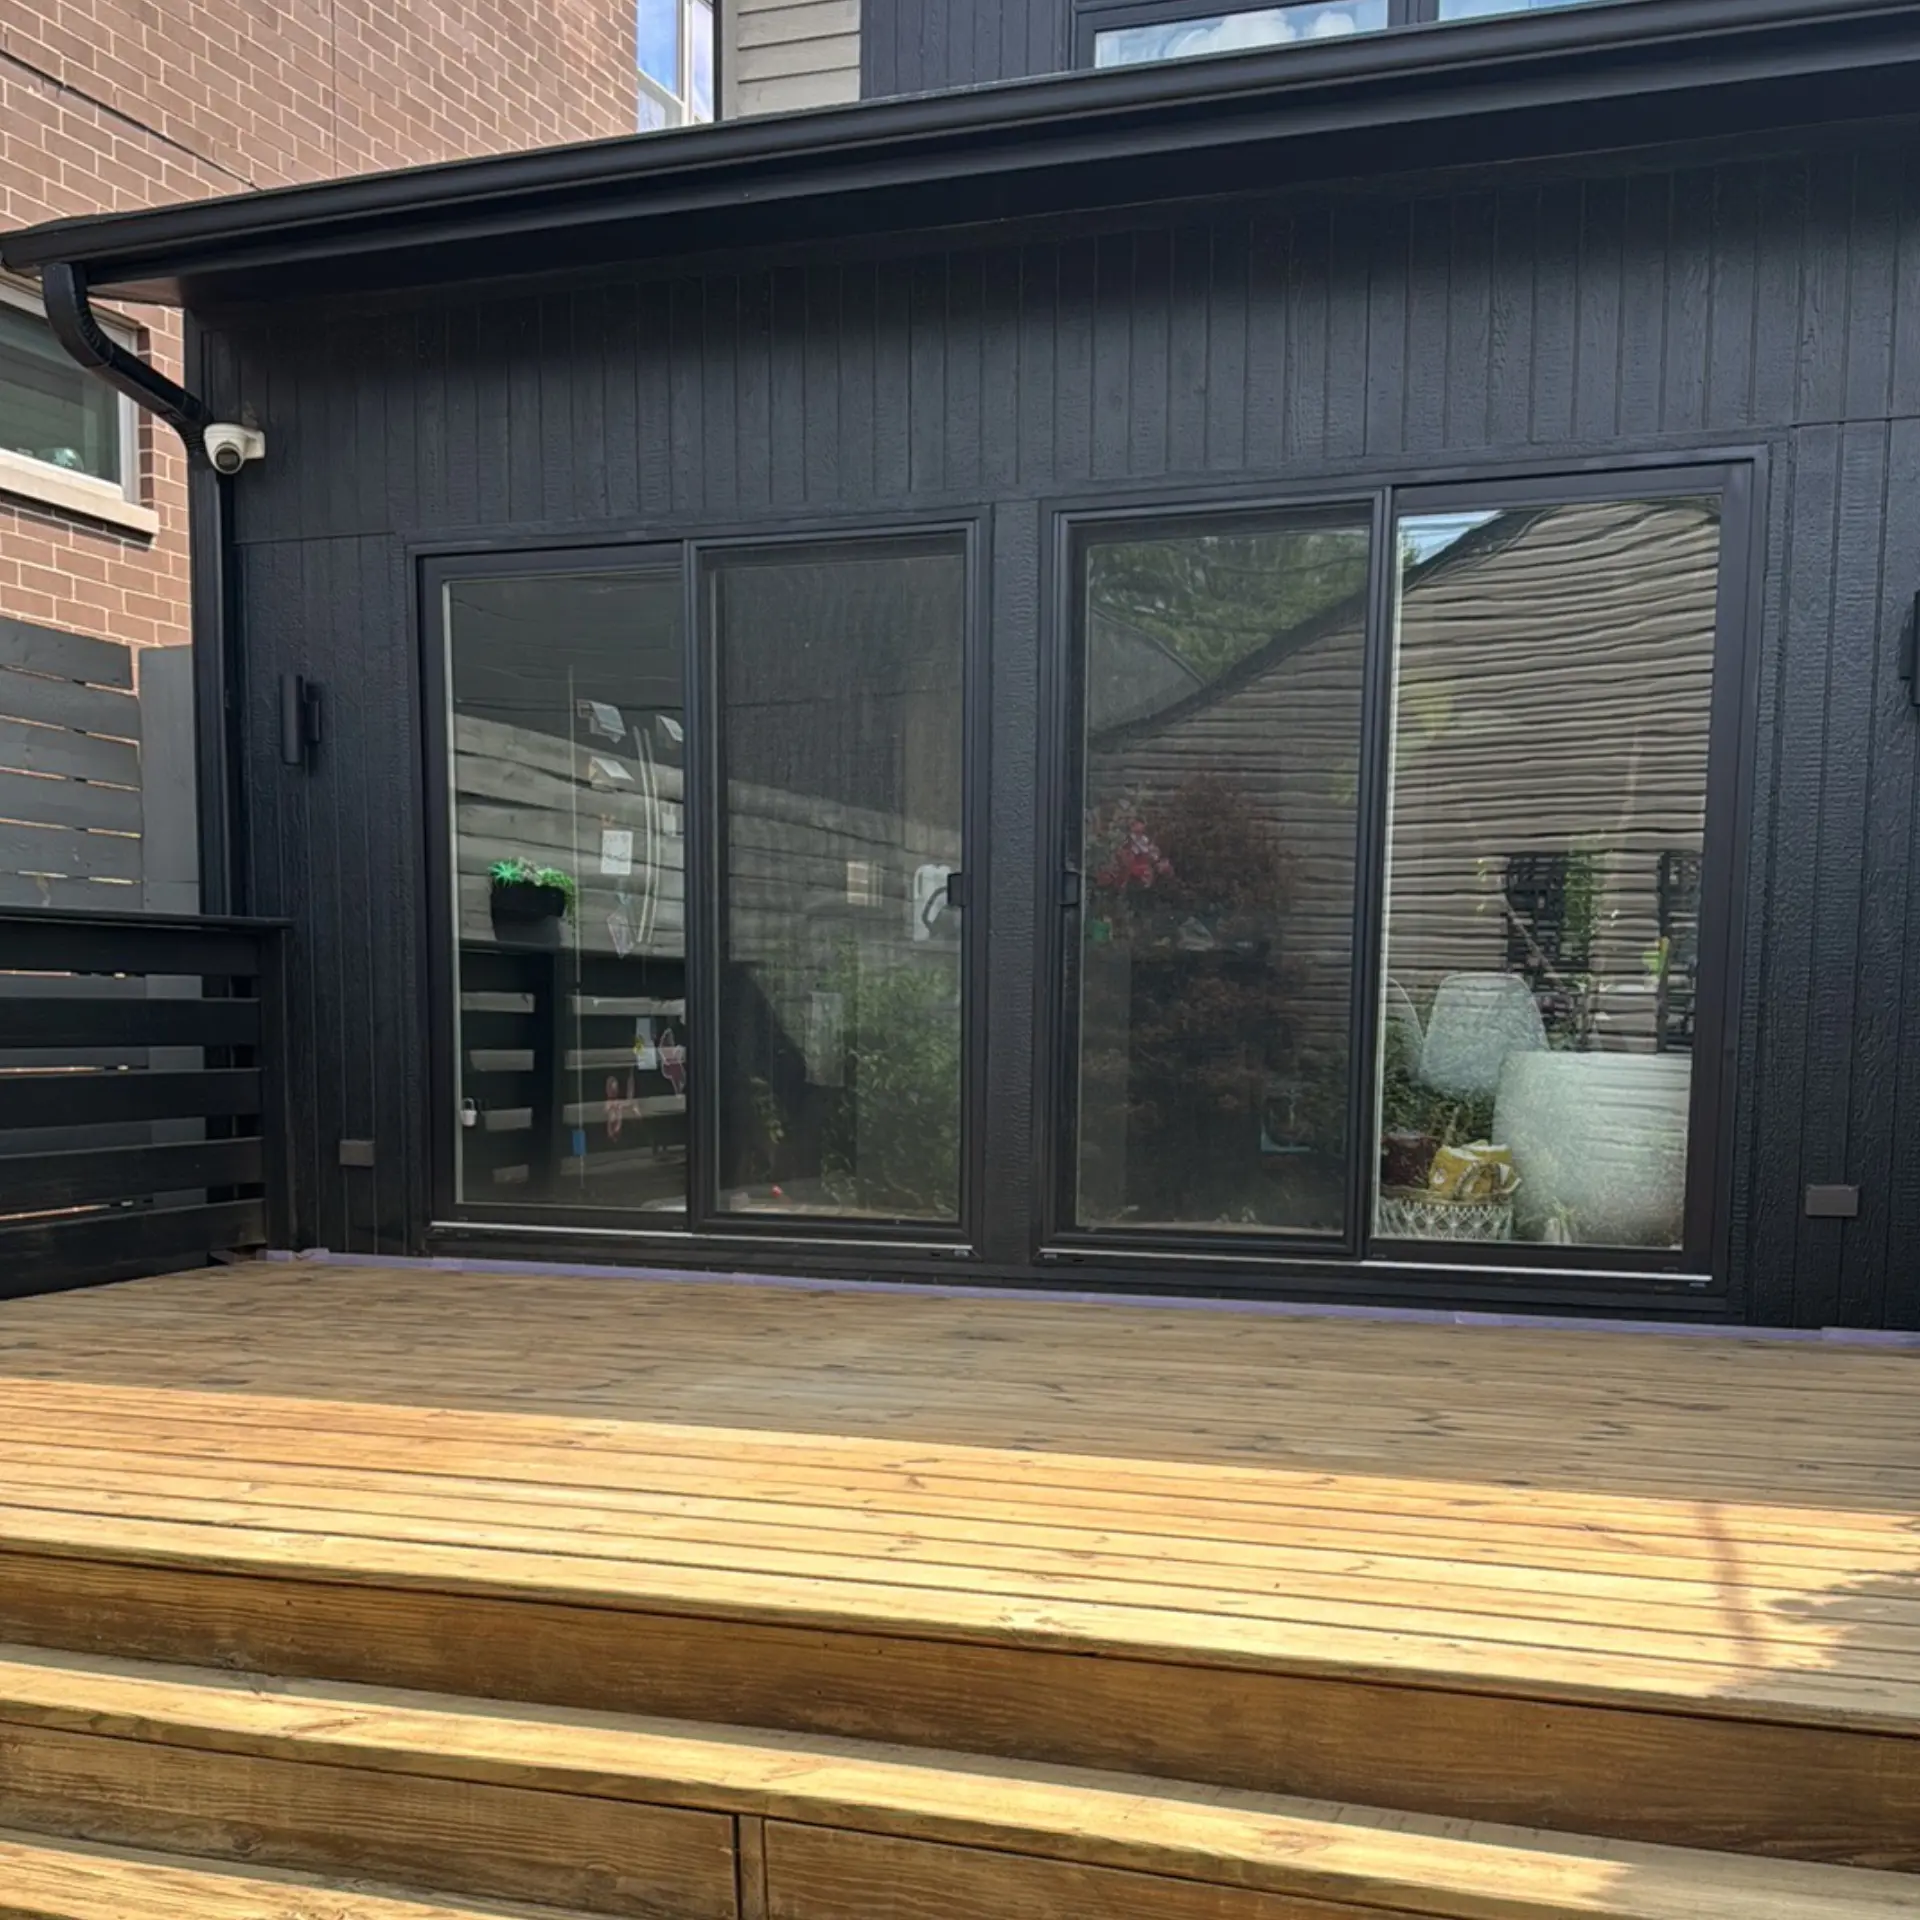
- Paint that's chalky and rubs off white residue on your hand
- Cracking or alligator-pattern texture across large wall sections
- Peeling or bubbling paint, especially near gutters and window trim
- Bare wood or exposed brick showing through in patches
- Faded color that looks flat instead of clean and even
- Recognizing the Warning Signs of Exterior Wear on Chicago Siding, Wood, & Masonry
Signs Your Home's Exterior Needs Repainting
Every exterior surface has a life span, and once that finish starts failing, it fails fast. We walk up to a lot of homes where the owner thought it was just dirty. It wasn’t. So how do you tell the difference between grime and real damage? Look closer.
Chicago winters push moisture into every crack in a home’s siding, then freeze it. That cycle repeats for months, and it’s brutal on old paint film. Brick two-flats and wood-sided homes around Logan Square and Avondale often show stress first at window trim and fascia boards, the spots where water sits longest.
Not sure if what you’re seeing counts? That’s a fair question, and it’s a common one. A little fading after ten years is normal, real cracking after two or three winters isn’t.
Bare wood is the one we take seriously every time. Once water gets past the paint layer, it starts working on the wood underneath, and that’s a different kind of job.
EXCELLENT Based on 32 reviews
 Posted on Google
 Marialex BovesGreat experience with Empire Painters Chicago. Jorge and his team transformed our bedroom from a very dark green to a much lighter color, and the difference is amazing. They were professional, clean, and paid attention to every detail. Highly recommend them for interior painting in Chicago.Posted on Google
 Courtney H.
Trustindex verifies that the original source of the review is Google.
Empire staff and contractor manager is very professional. Jorge, Deivis and Miguel worked on prepping the walls and painting very diligently. Jorge answers all texts and calls promptly. Painters Deivis and Miguel was always on time and always asked for approval of their work as they moved along. I had a very pleasant experience. I would definitely call and use them for my painting and dry wall needs.Posted on Google Andrew KinaciJorge and his crew came in to help me with a new rental property. They turned two units that needed substantial prep work over quickly and efficiently, with beautiful clean walls ready for new residents. I’d recommend Empire Painters for any project, they have a great attention to detail and fair pricing for a high quality finished product!Posted on Google
 Brendon EbertGood and effective work + Good pricePosted on Google
 Andrea VizzariWe have trusted Jorge and his team at Empire to do many projects for us over the years the years and they continually go above and beyond to provide beautiful work. They did the entire exterior painting and repair of our house I and blew us away with the quality of their work. Interior jobs are done to perfection as well. They are professional, clean, and courteous. Their work is very precise and well done. Most importantly they truly care about doing a good job and take pride in their work. For good reason- we receive so many compliments on thier work and the transformations they have helped us accomplish on our 1903 home that needed tons of work. We have gotten to know George and his crew over the years and would recommend them to anyone!Posted on Google
 Katherine LealI hired Empire Painters Chicago to paint my living room, and the results were outstanding. Jorge helped solve several wall issues before painting, and the final finish was flawless. The team was professional, carefully protected my furniture, and left everything spotless. I highly recommend Empire Painters Chicago for anyone looking for interior painting services in Chicago.Posted on Google
 George HerreraMy wife and I had our house painted, and the results exceeded our expectations. Jorge was professional, punctual, and paid close attention to every detail. Jorge took the time to properly prepare the surfaces, kept the work area clean, and delivered a flawless finish. Communication was key throughout the project, and everything was completed on schedule. Our home looks amazing, and we couldn't be happier with the quality of the work. I highly recommend Jorge and Empire Painters Chicago to anyone looking for a skilled and reliable painter.Posted on Google
 Isabel UgazWe are very satisfied with the service provided by Empire Painters Chicago. After trying a couple of companies to repair our building fence, a neighbor recommended Empire Painters. Jorge was very fast to reply to our inquiry. He booked us in a timely manner and the job he and his team did was excellent. We will be recommending him to our neighbors and look forward to working with his team in future painting projects.Posted on Google
 Alice VilaJorge did a great job. He protected all of the woodwork and cleaned up. Did work as promised in the tine frame we required. Very professional. Would definitely hire again.Posted on Google
 maryann Sprinkle-WalkerHighly recommend Jorge for painting & accent walls! His precision & attention to details is insane!! A true perfectionist! I wish I had taken photos on him taking measurements, marking the spaces like an engineer with the various tools!! Added wainscoting on staircase Accent wall in dining room & family room
- $0 travel charges
- 1-year warranty
- Clear project communication
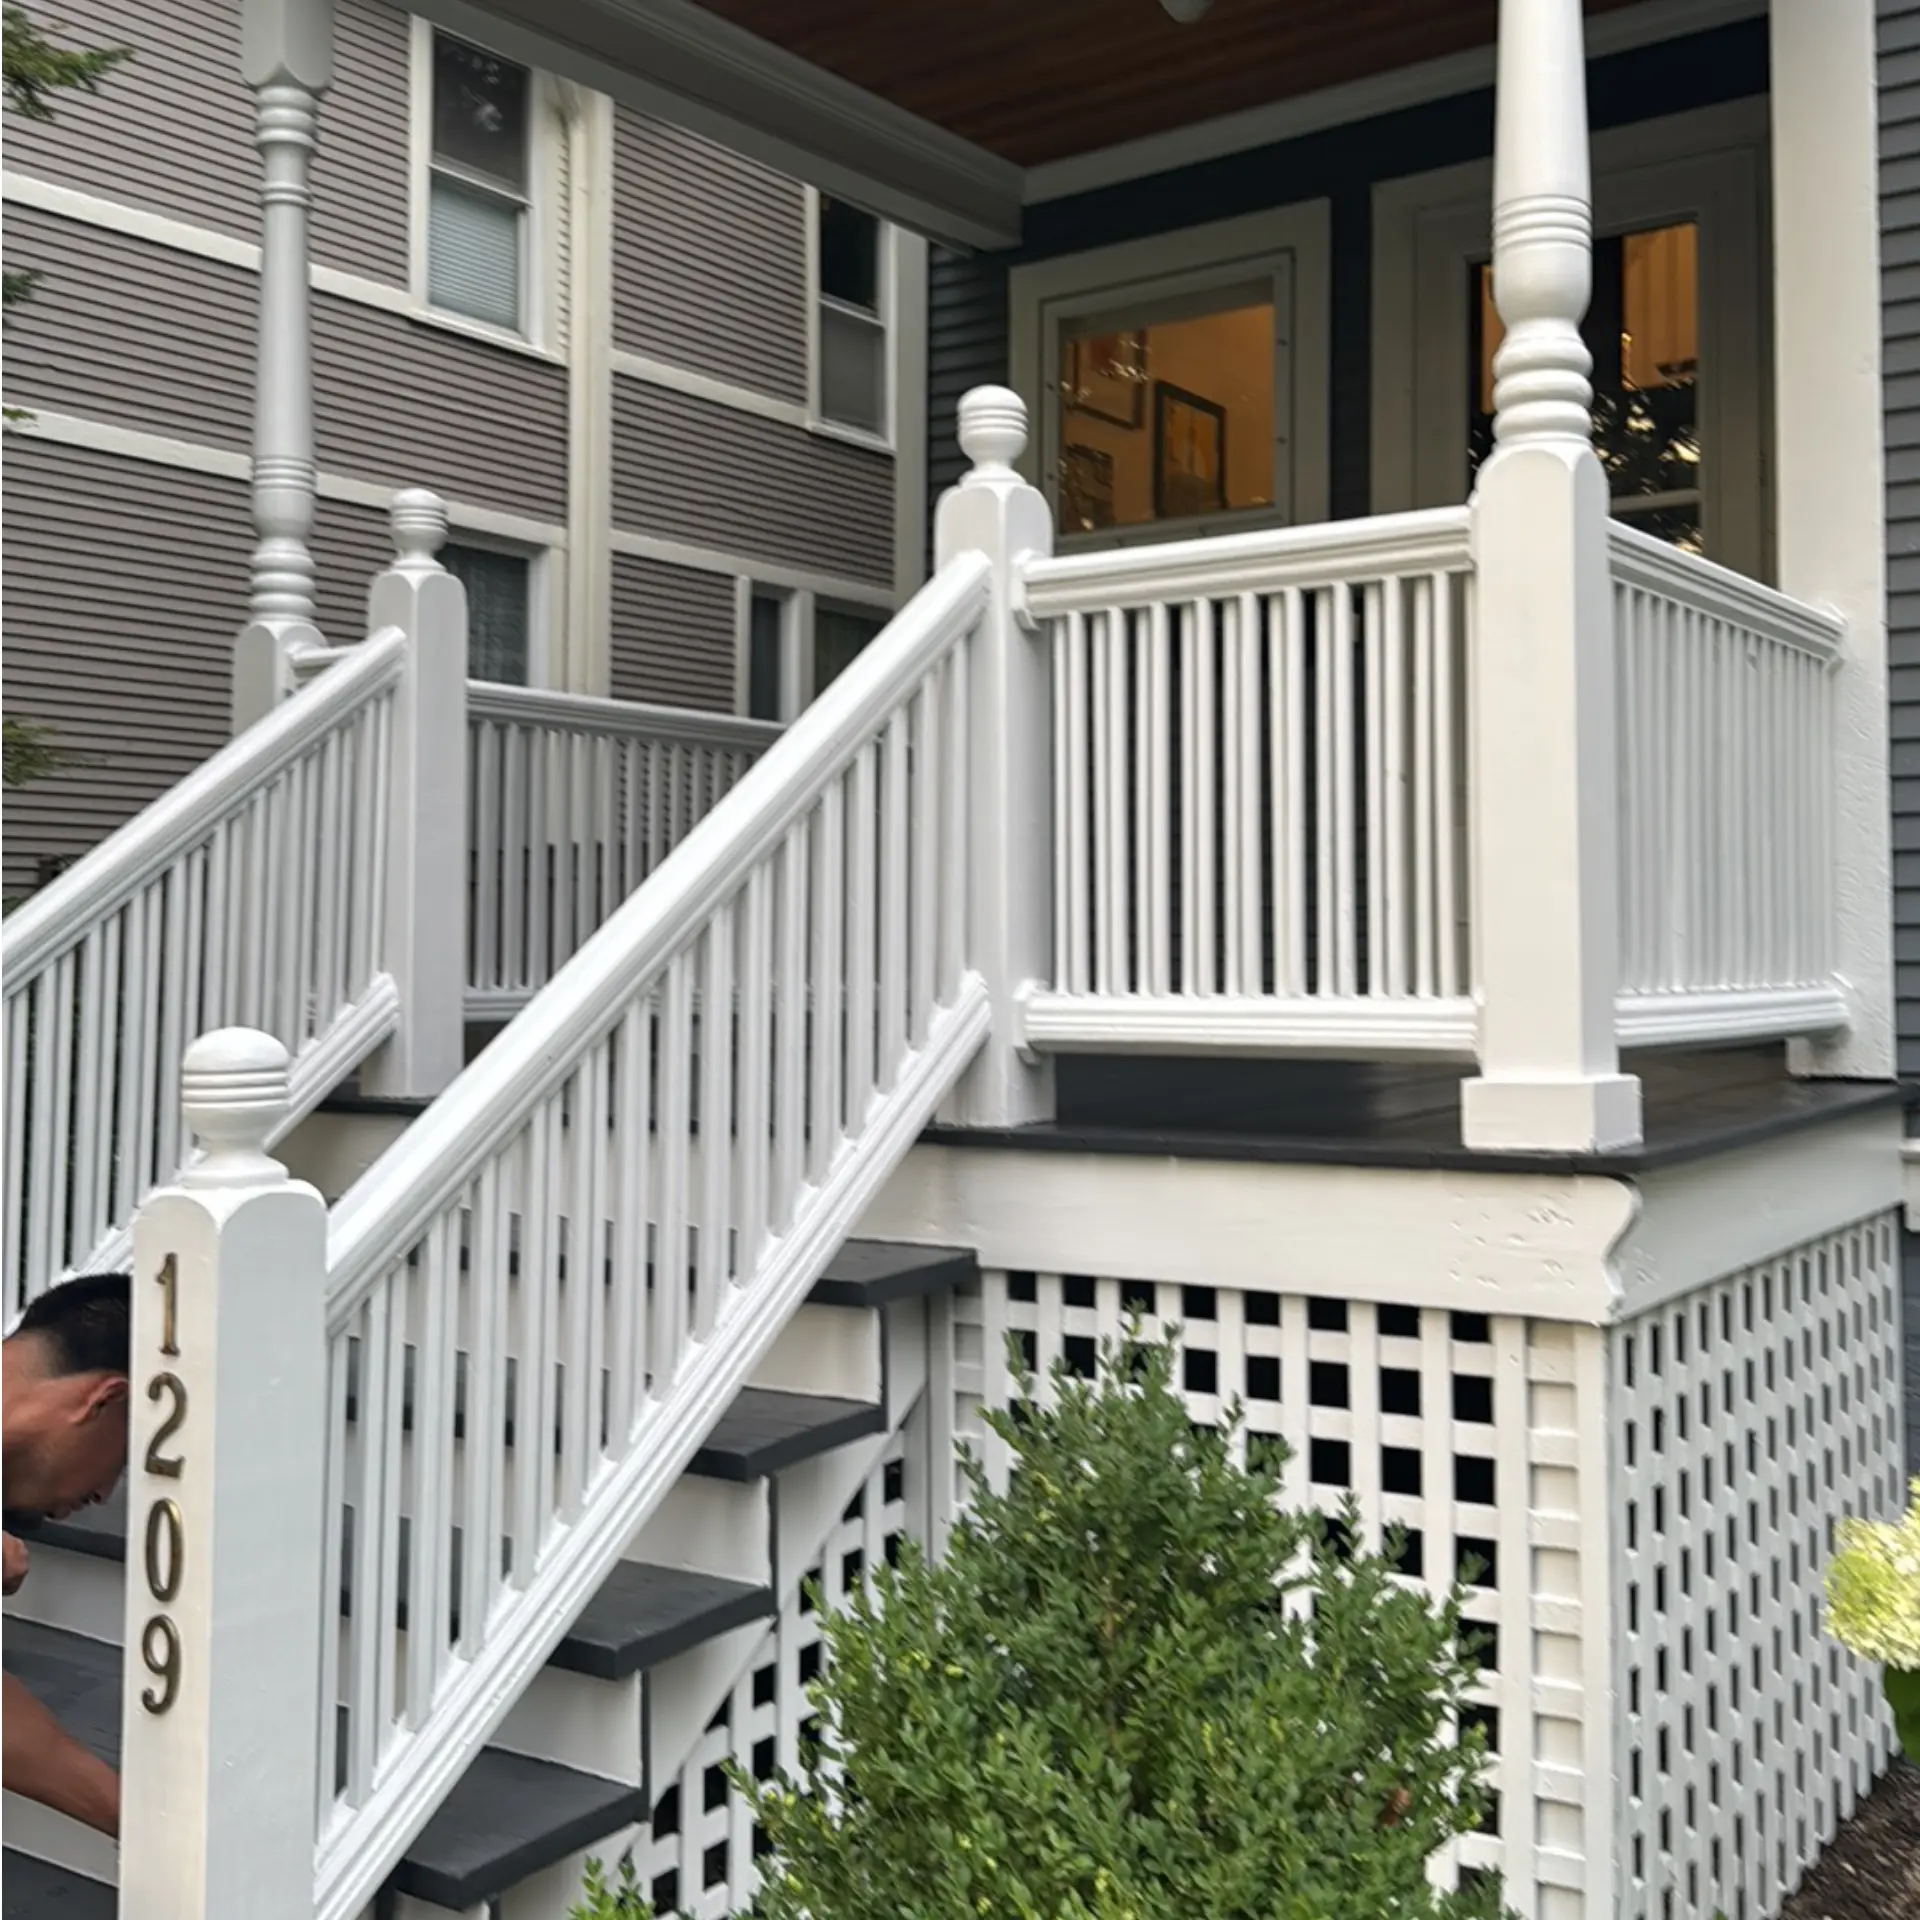
Masonry vs. Wood-Frame Prep: Two Different Jobs
Explore the service that matches your exterior surfaces: brick painting, deck painting, fence painting or wood fence staining. For exterior doors, see our door painting service.
- Masonry prep: efflorescence removal, mortar joint inspection, alkaline neutralizing wash, moisture testing before priming
- Wood-frame prep: scraping and feathering, grain treatment, nail resetting, caulk renewal at movement joints
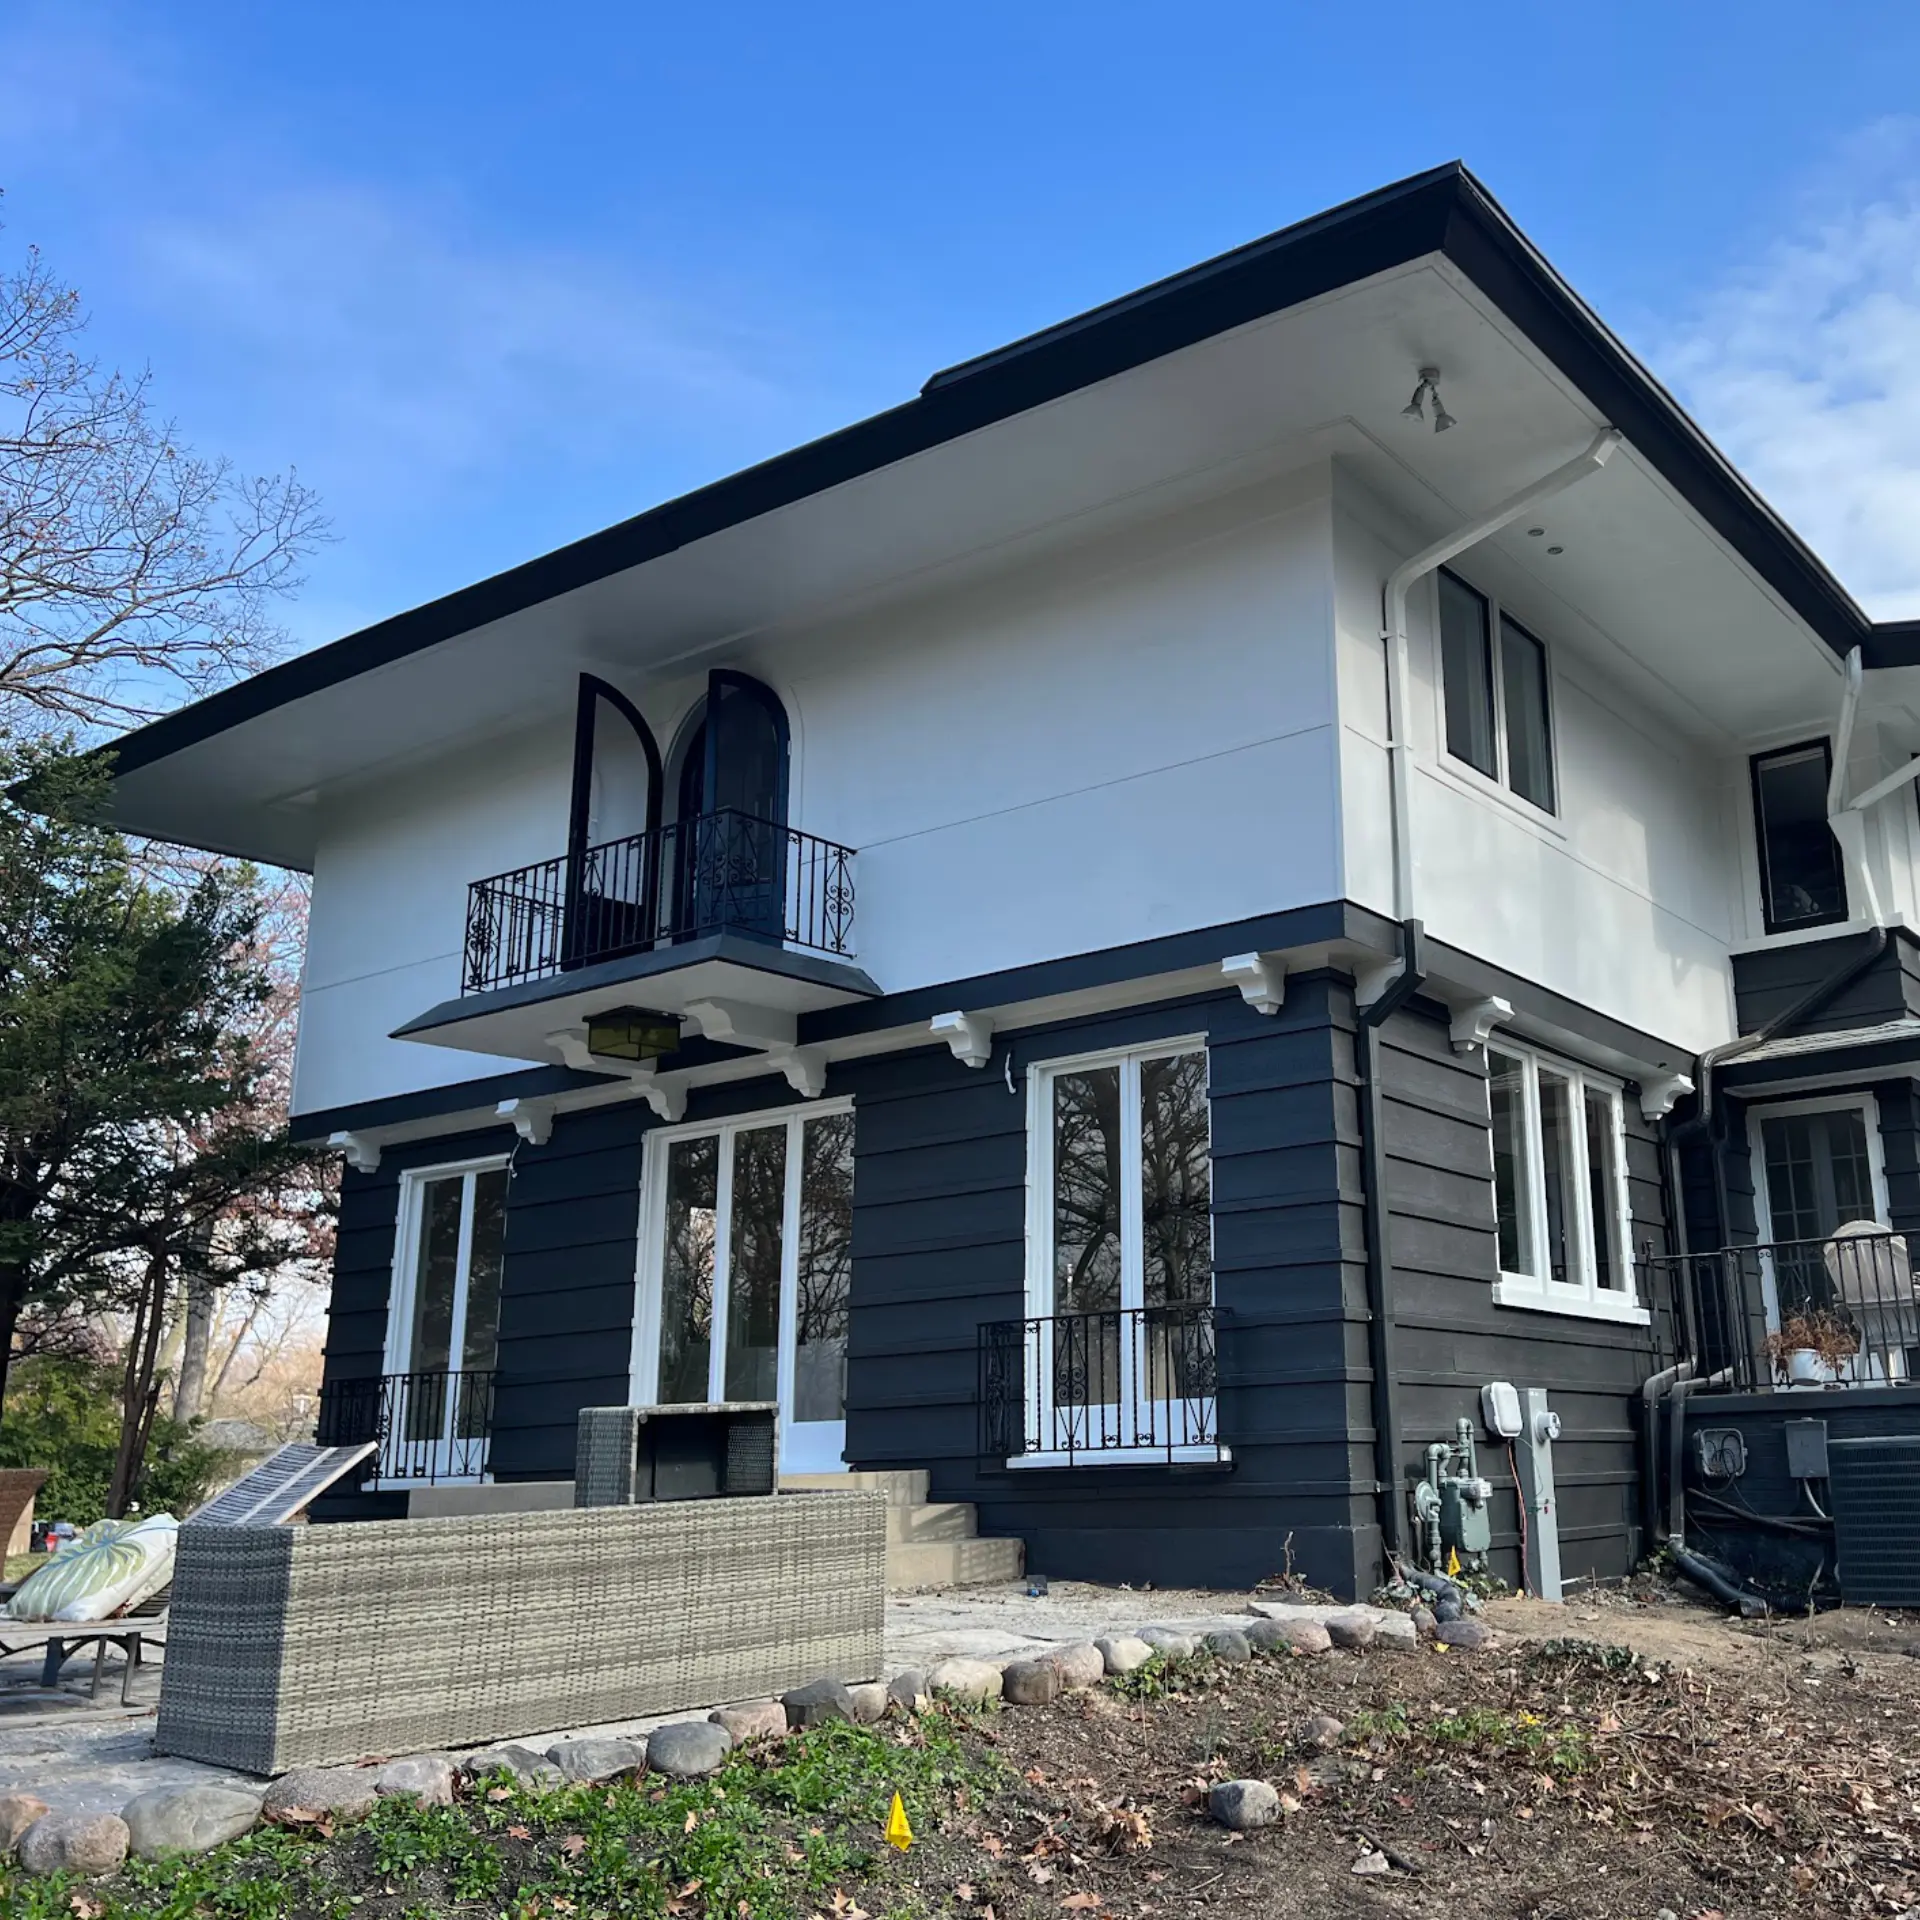
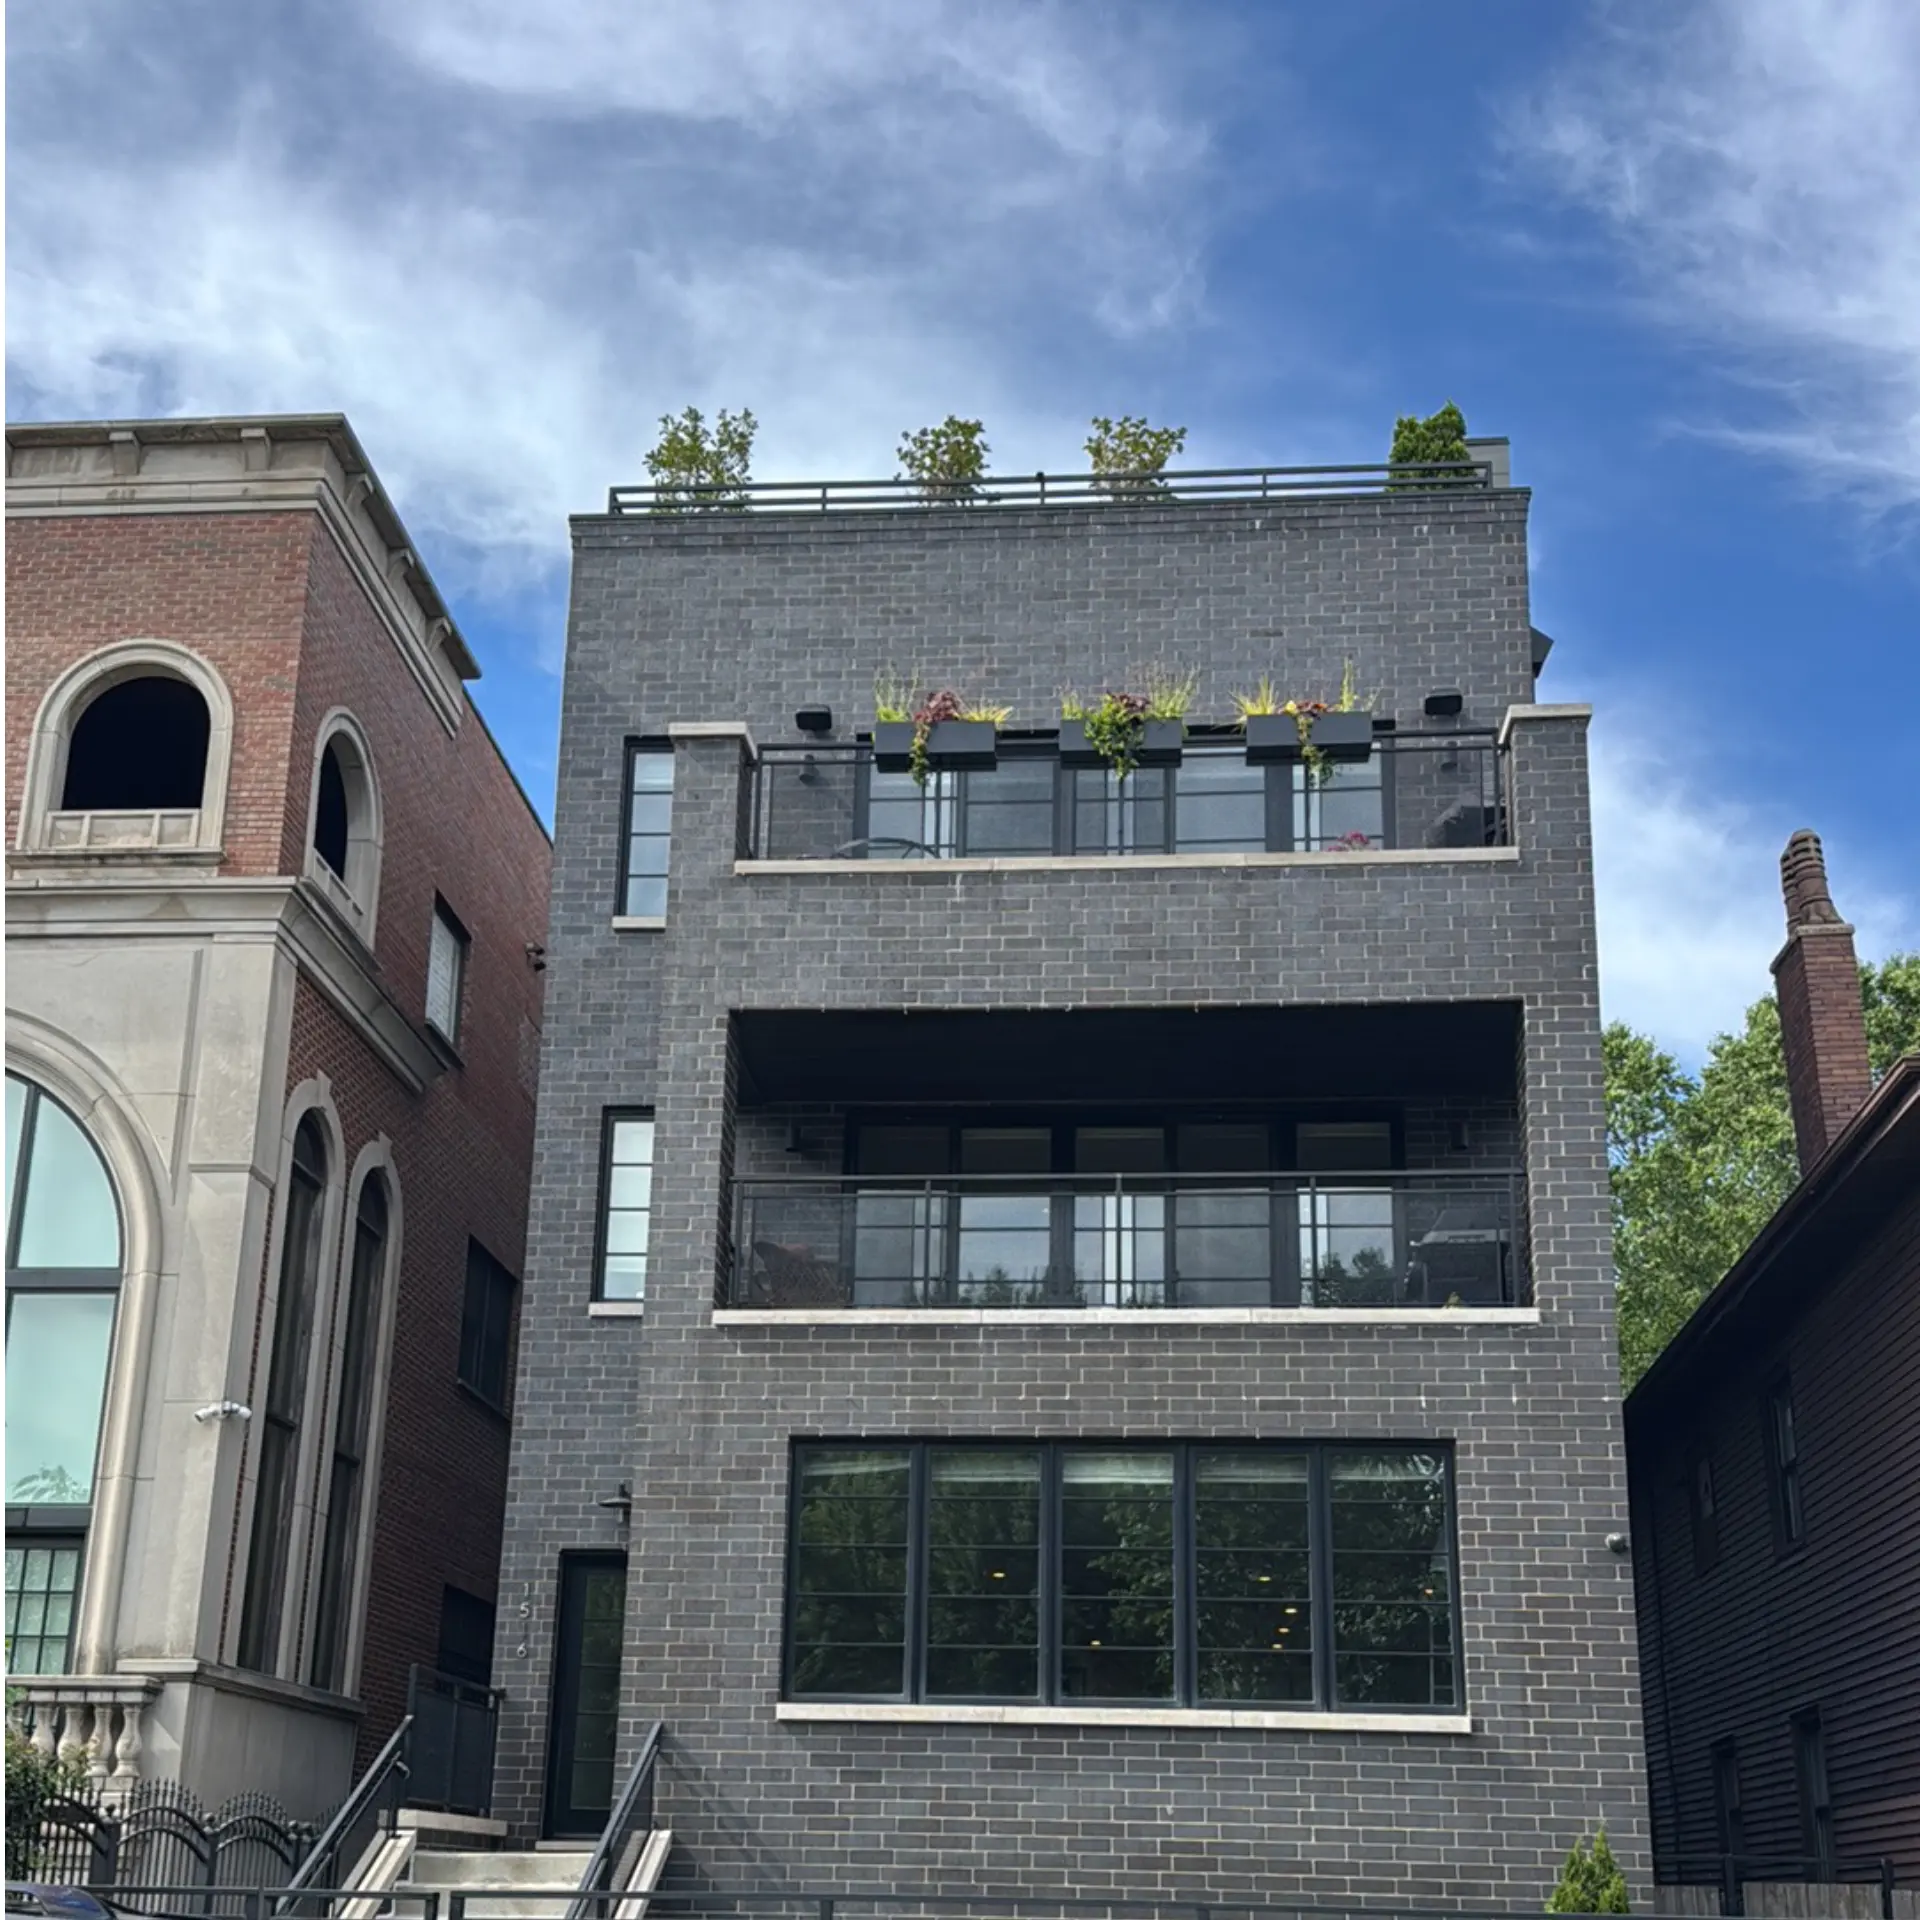
- Mixed facades common in Wicker Park and West Town: masonry first floor, wood-frame second story or porch additions
- Different primers required: masonry-specific alkali-resistant primer versus wood-bonding oil or acrylic primer
- Failure modes differ: masonry shows chalking and mineral staining, wood shows peeling and checking
Contact Information
- 3604 W Schubert Ave, Chicago, IL 60647, United States
- (312) 725-3621
- Monday - Saturday: Open 24 hours
- Sunday: Closed
- Spot Painting vs. Complete Exterior Refinishing: Choosing the Right Scope for Your Property
When a Touch-Up Beats a Full Repaint
Not every peeling spot means you need a full exterior painting job. Sometimes it’s just one bad corner. We get calls from folks who saw a little chipping near a downspout and jumped straight to worry mode. That’s understandable. But a full repaint isn’t always the fix.
Here’s the honest test we use on site visits. If the damage is small, isolated, and the surrounding paint still has good bond, a touch-up will hold. If it’s spread across a whole wall, or you see it on multiple sides of the house, that’s a different story.
- A single chipped spot near a window sill or door frame, with tight paint everywhere else
- Fading on one accent wall while the rest of the color still looks solid
- A small scrape from a ladder, hose reel, or trash bin bump
- Minor nail holes or scuffs on trim after a repair job
- One section that got hit by sprinkler overspray or a leaky gutter, now dry and fixed
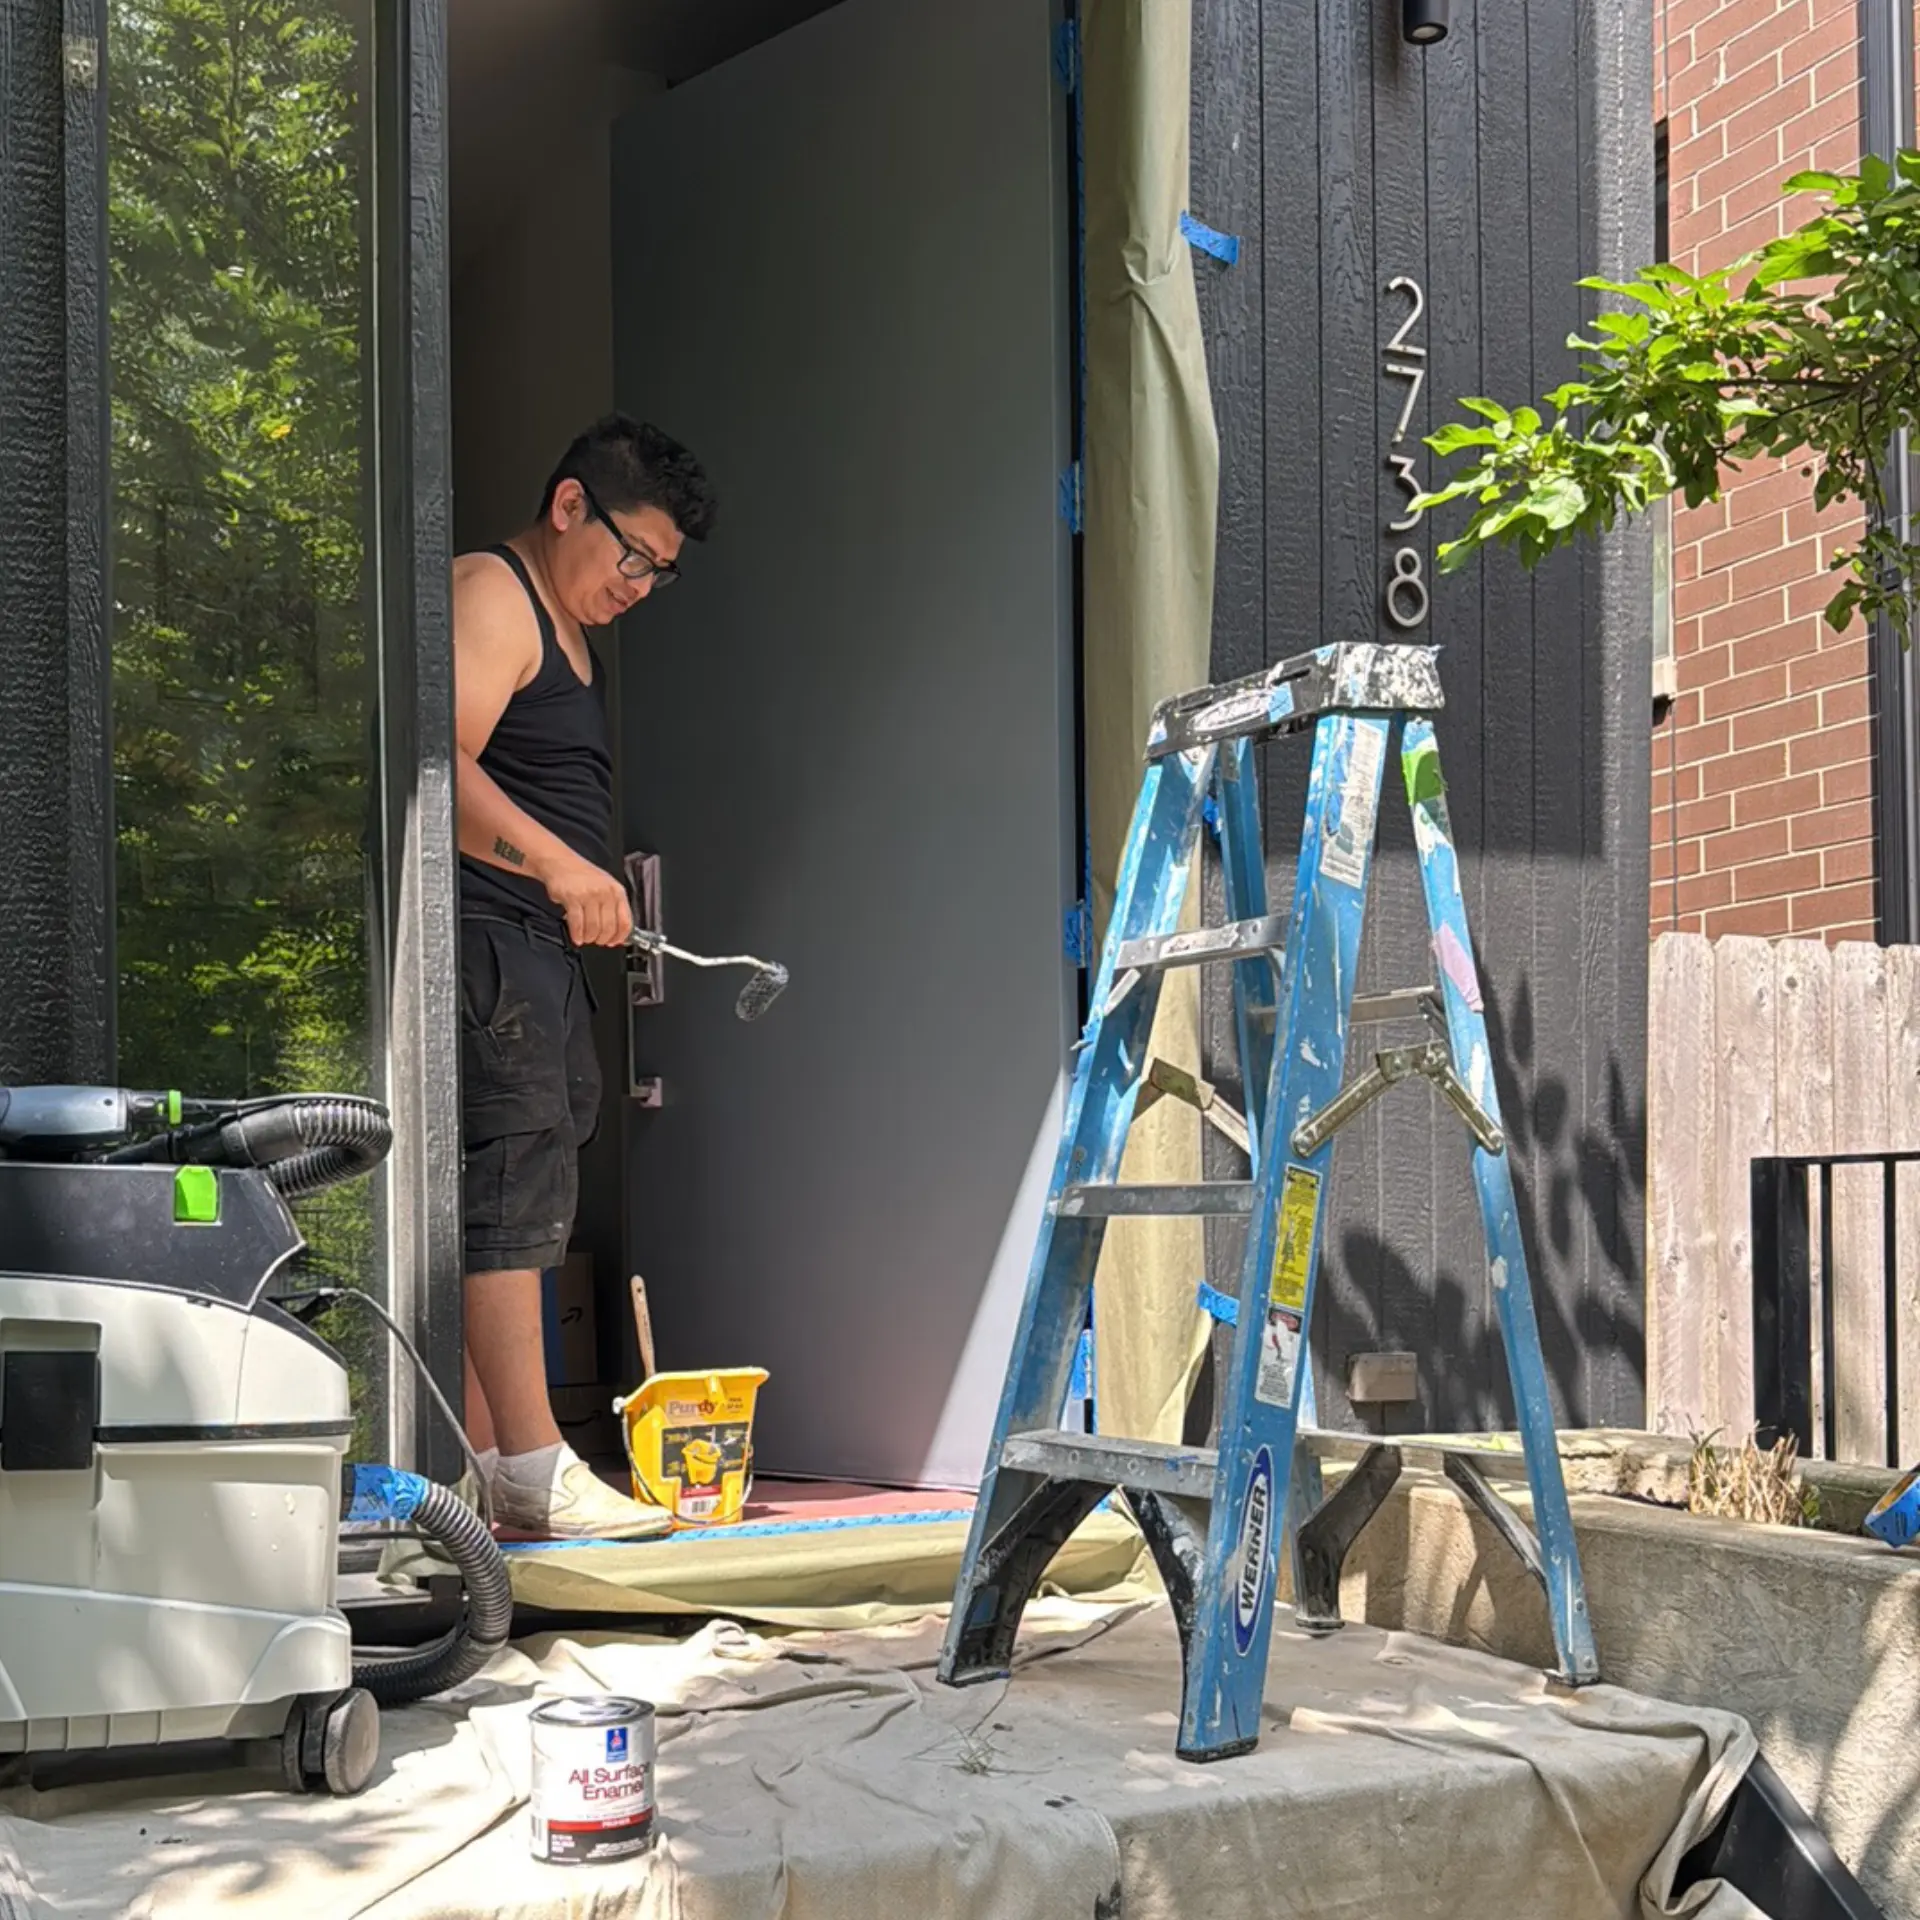
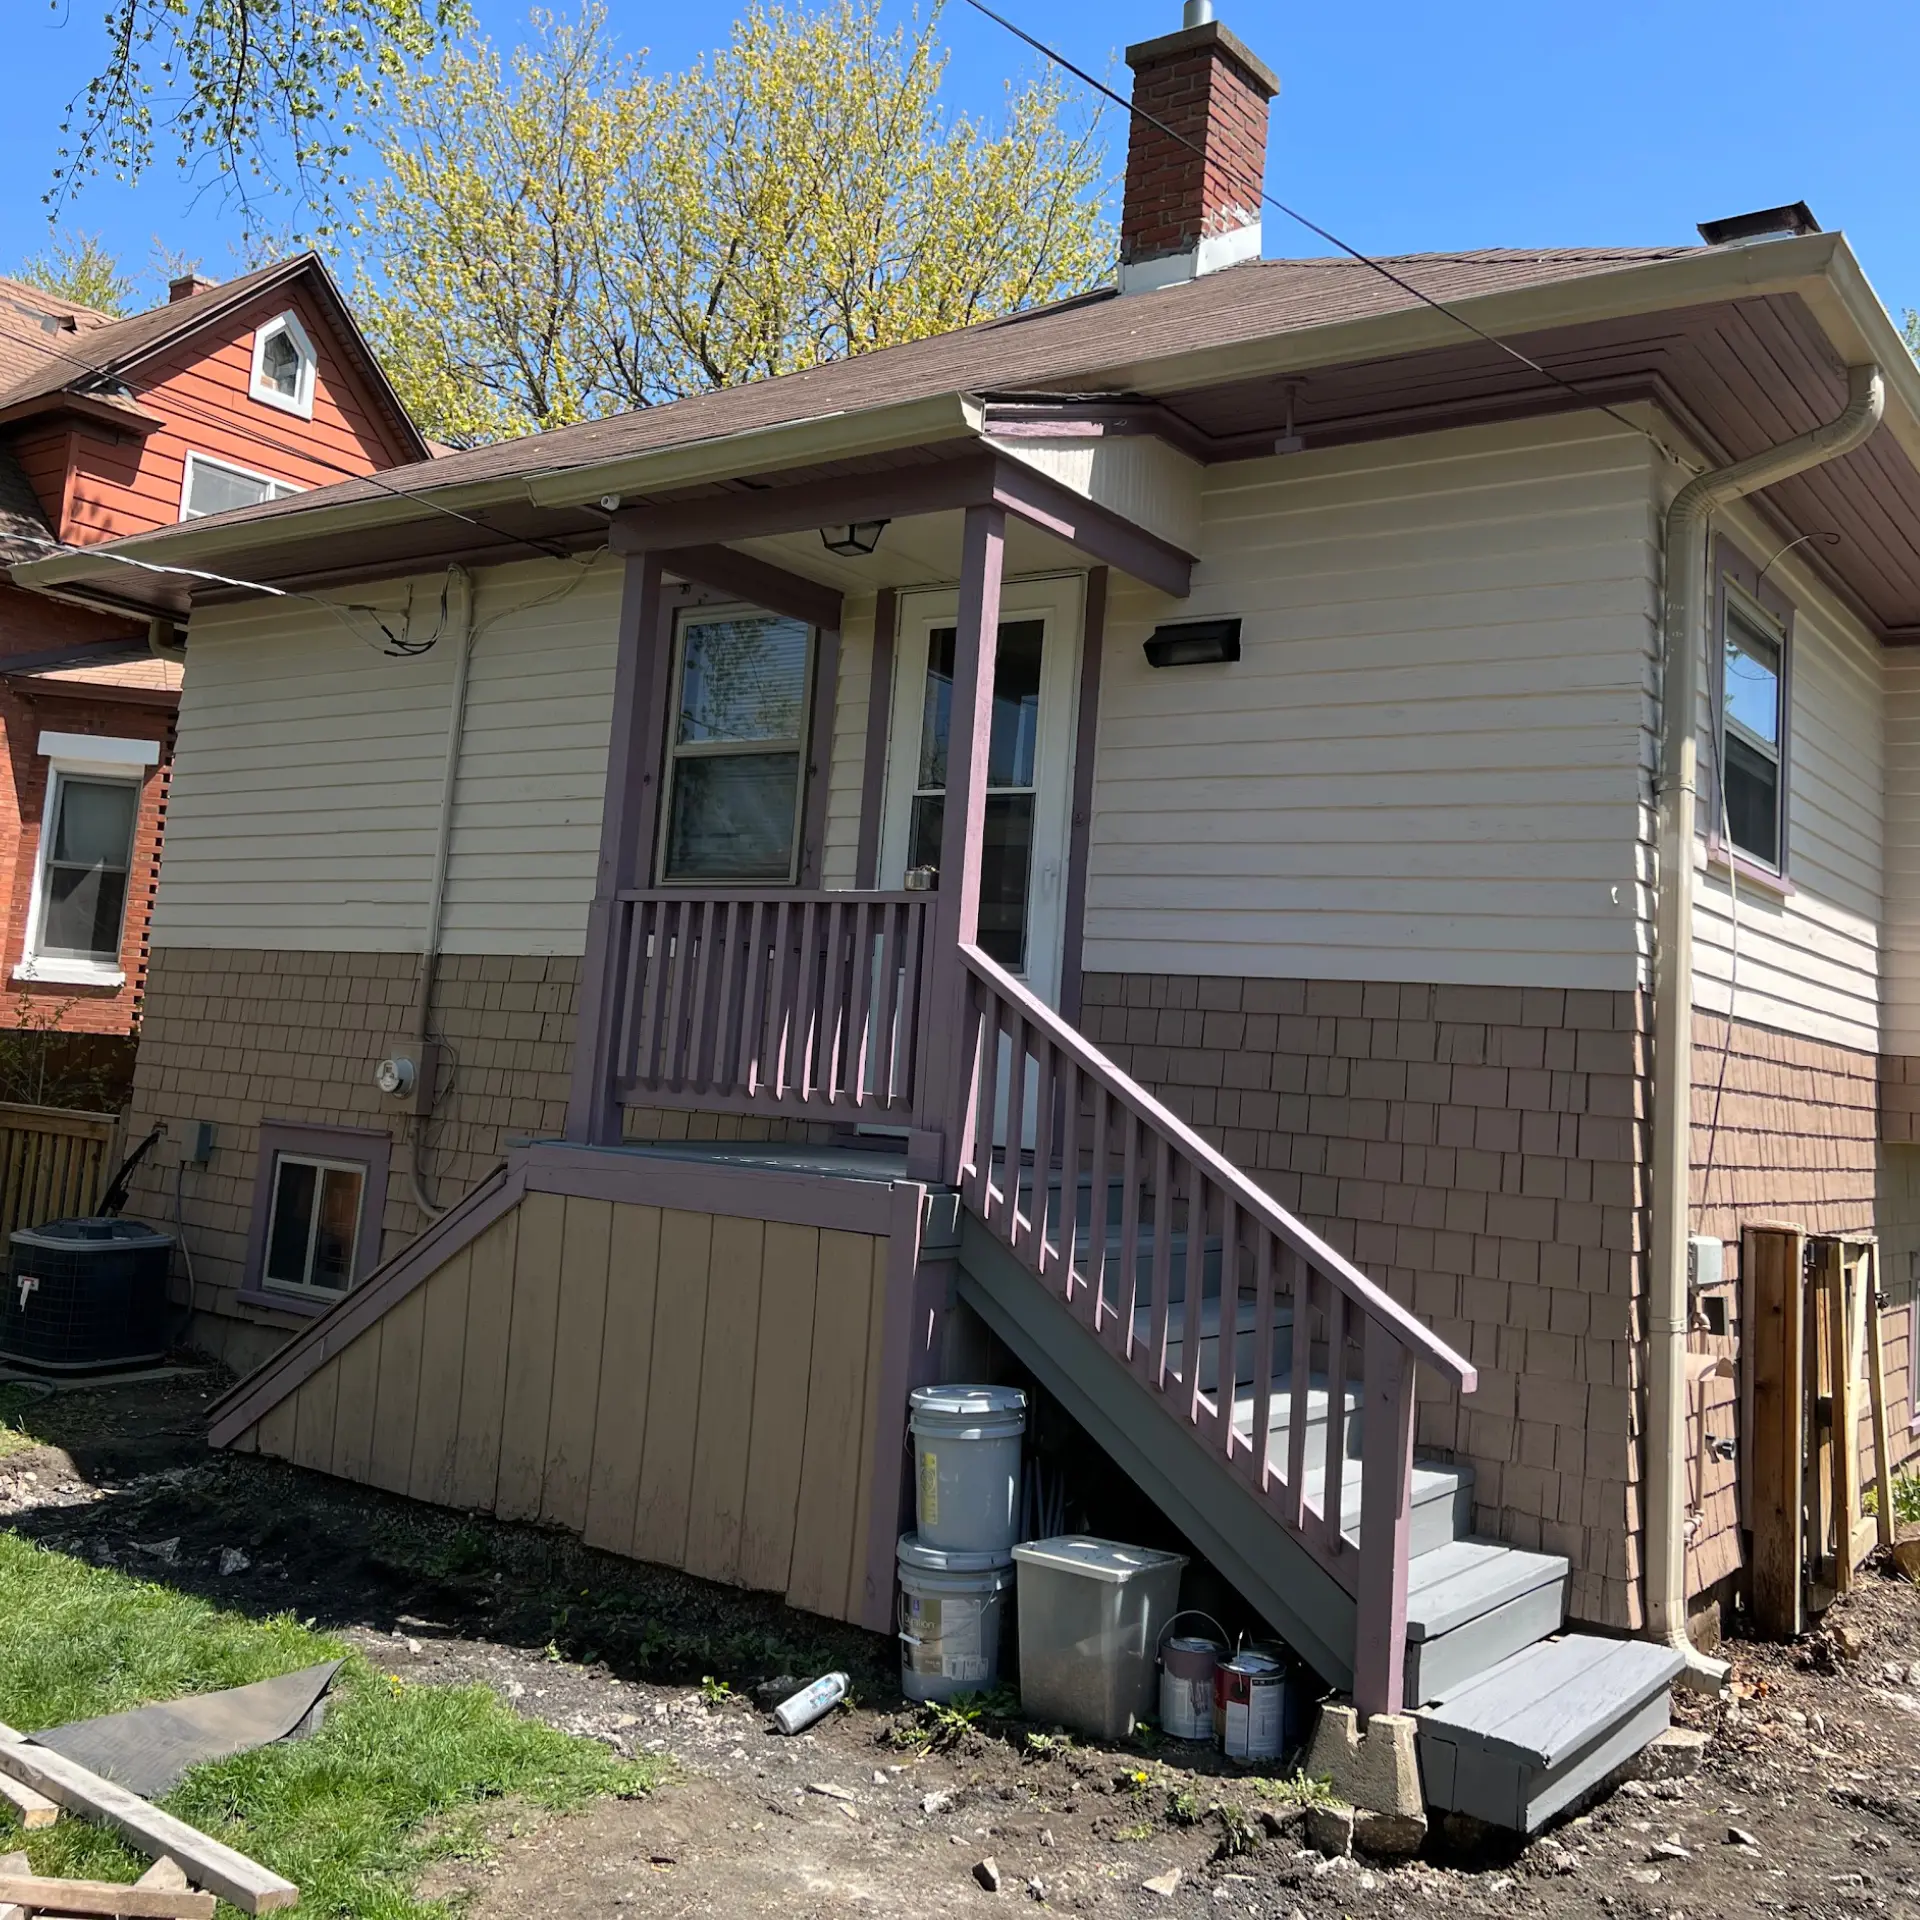
- Chicago’s Weather Window: How Freeze-Thaw Cycles & Humidity Dictate Exterior Painting
Timing an Exterior Repaint in Chicago's Climate
- Book spring projects in February or March to secure a slot before the post-winter rush peaks in April and May
- Expect fall booking windows to close by mid-September as crews prioritize jobs that can finish before cold weather arrives
- Ask any contractor quoting late-season work how they plan to monitor overnight temperature drops during multi-day projects
- Treat July and August as the most flexible months for scheduling, since demand dips slightly during peak summer heat
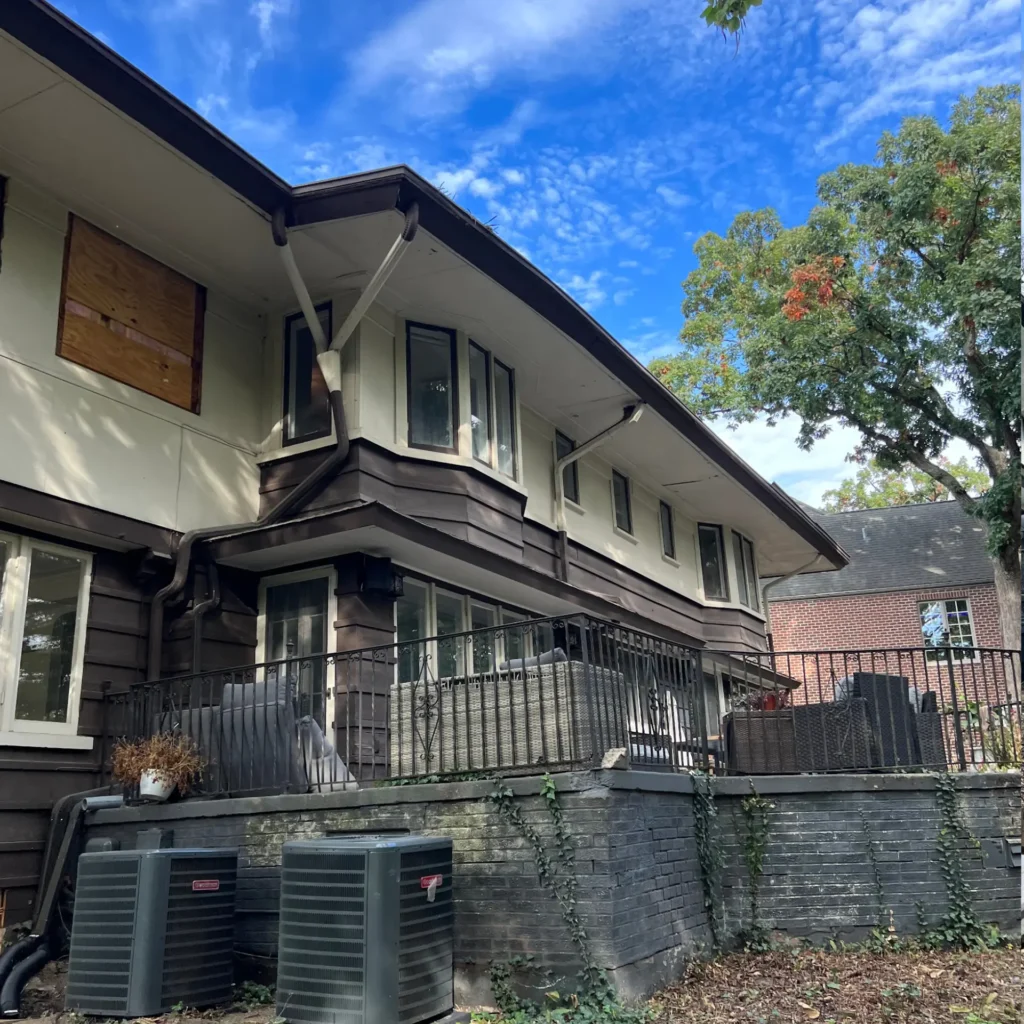
- Understanding Exterior Painting Pricing: How Surface Prep, Materials, & Access Impact Costs
What Drives Exterior Painting Costs
- What does the estimate include prep work, and is it itemized separately from painting labor?
- How many coats are included, and what happens if a third coat is needed for full coverage?
- Are masonry surfaces, trim, and gutters included in the scope or quoted separately?
- What type of primer and paint will be used, and is that specified in writing?
- Who handles wood repair or rot replacement if it is discovered during prep?
- Is the cost affected by the number of stories or type of access equipment required?
- Frequently Asked Questions
Common questions about Exterior painting